|
|
| How to Make an Oat Meal Tin Camera |
| |
| This project is rather simple. You can do it with your family, your kids, your students or your friends. We have supplied photos as a visual guide, rather than lengthy descriptions. This project aims to help you design and make your own camera.You don't need to follow every step and the materials we use exactly. We recommend that you read through our project before you start to design your own camera. Enjoy it, and lets start! |
|
|
| |
| Step 1: |
| |
| The first thing to do is to collect the materials and tools. The materials that you will need will depend upon the camera which you design. Select only those supplies which you require from the following list of tools and materials:
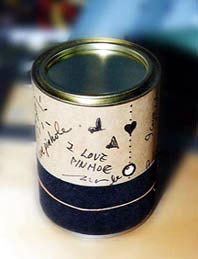
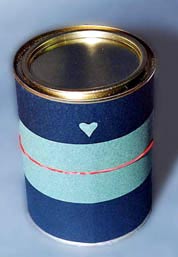
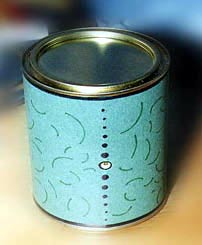
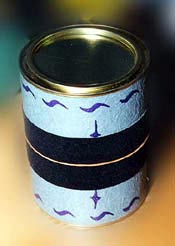
Materials: 1. Oatmeal tin (or any round light-tight tin or container.) |
|
|
| 2. Shim brass (or aluminum foil.) 3. Double-sided adhesive tape. 4. Colored or fancy paper. 5. Rubber banks. 6. Bolt and nut. 7. White glue. 8. Self-adhesive black felt paper. 9. Needle. 10. 5mm drill bit and mini drill bit (0.2mm to 0.4 mm, depending on the size of your camera.) 11. Compass. 12. Ruler. 13. Cutter. 14. Scissors. 15. Screw driver
Once all your materials and tools are ready, we can begin making the camera. |
| |
| Click on the arrow for the next step.
|
| Camera design is copyrighted by the camera designer. Any reproduction of this camera for commercial use is prohibited. |
| Web
page build at September 26, 2000, last update April, 2008 |
|
|
|
|
|
|