Installation of 4x5 Filter Filter Adapter
To install the filter adapter, you may need the following tools:
1. Provided paper template;
2. Screw driver;
3. Power drill or hand drill;
4. Ø3.5mm drill bit;
5. Centering tool: Hole starter
or center punch
6. 1.5mm Allen Wrench (Hex Key)


The provided paper template already cut to the necessary size! Simply put it to the inside of camera and align the top. Then use the hole starter to mark the position of the holes. Enlarge the hole can help to prevent the drill bit from wobblering when drilling.

Use a sharp 3.5mm drill bit to drill through the 3 holes. The front panel is rather easy to crack(around the edge of the hole) when drilling. Use a small wooden backing block can prevent the crack! Always drill slowly will be o.k.

To prevent lost of the brass screws, we install it to the filter when delivery. Remove all the bass crews from the filter holder.

Then fasten the filter holder to the camera with the 3 brass screw. That's it.
We tap all the holes, so you just need to drive in the screws. Remember not to over-tighten, as this can damage the wood threads and prevent the screws from functioning properly
The installation of the filter adapter to the camera is finished!!!

Now install the filter to the filter holder, loose the set screw with the 1.5mm allen wrench(hex key) until you can insert the filter to the slot of the wooden filter holder. Then ighten the set screw one by one. Remember not to overtighten becuase the holder is made of wood and it will crack if overtightened!
Tighten the set screw until you cannot move the filter with very very little pressure by your fingers.
Repeat the "tighten and test" process for the next two screw.
Please keep the allen wrench as you may need it to tighten the set screw a bit in case the filter loose after using for a long time.

Remember always hold the wooden filter holder instead of hole the filter when attach or remove the filter.

Enjoy!
Installation of 618 Filter Filter Adapter
To install the filter adapter, first attach your filter to the holder by tightening the three set screws. Please refer to the guide above for the Zero 4x5.
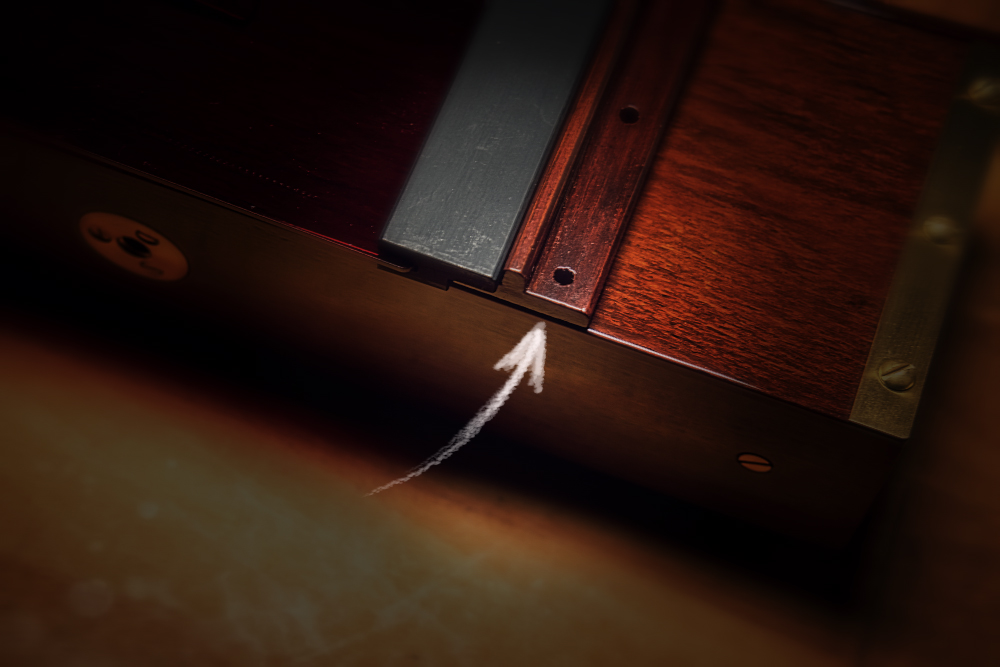
To position the holes for drilling, place the filter adapter along with the filter at the front of the camera. It is crucial to ensure that the bottom of both the adapter and the camera are aligned.
It is necessary to leave a 1-2mm gap here to allow for easy attachment and detachment of the filter, without obstructing the brass cable release adapter.
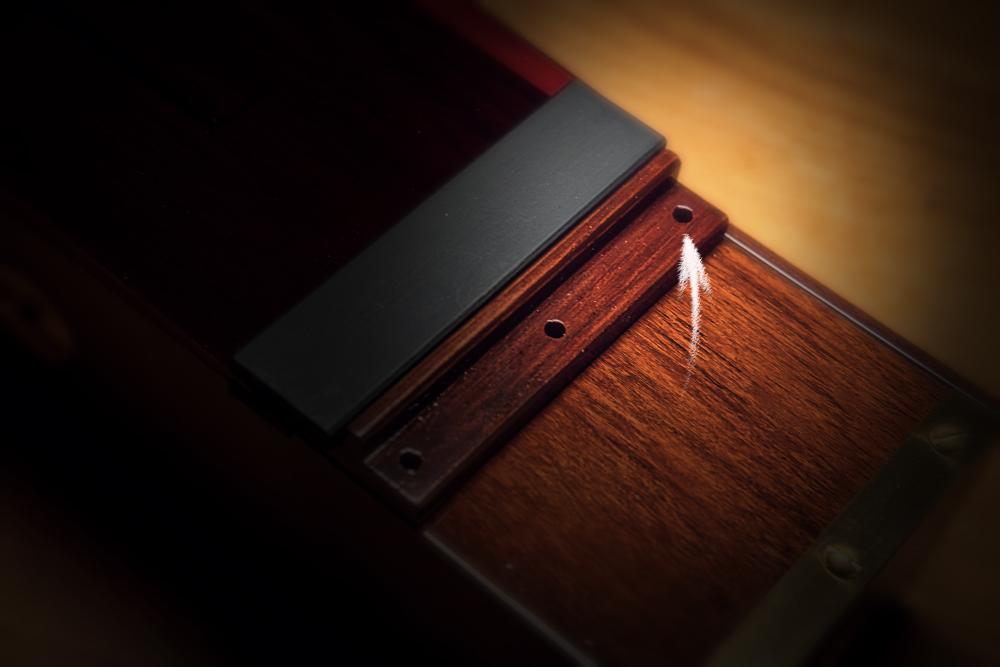
After the filter is adjusted to the correct position, you can use the filter adapter directly as a drill jig to drill the 2.5mm holes.
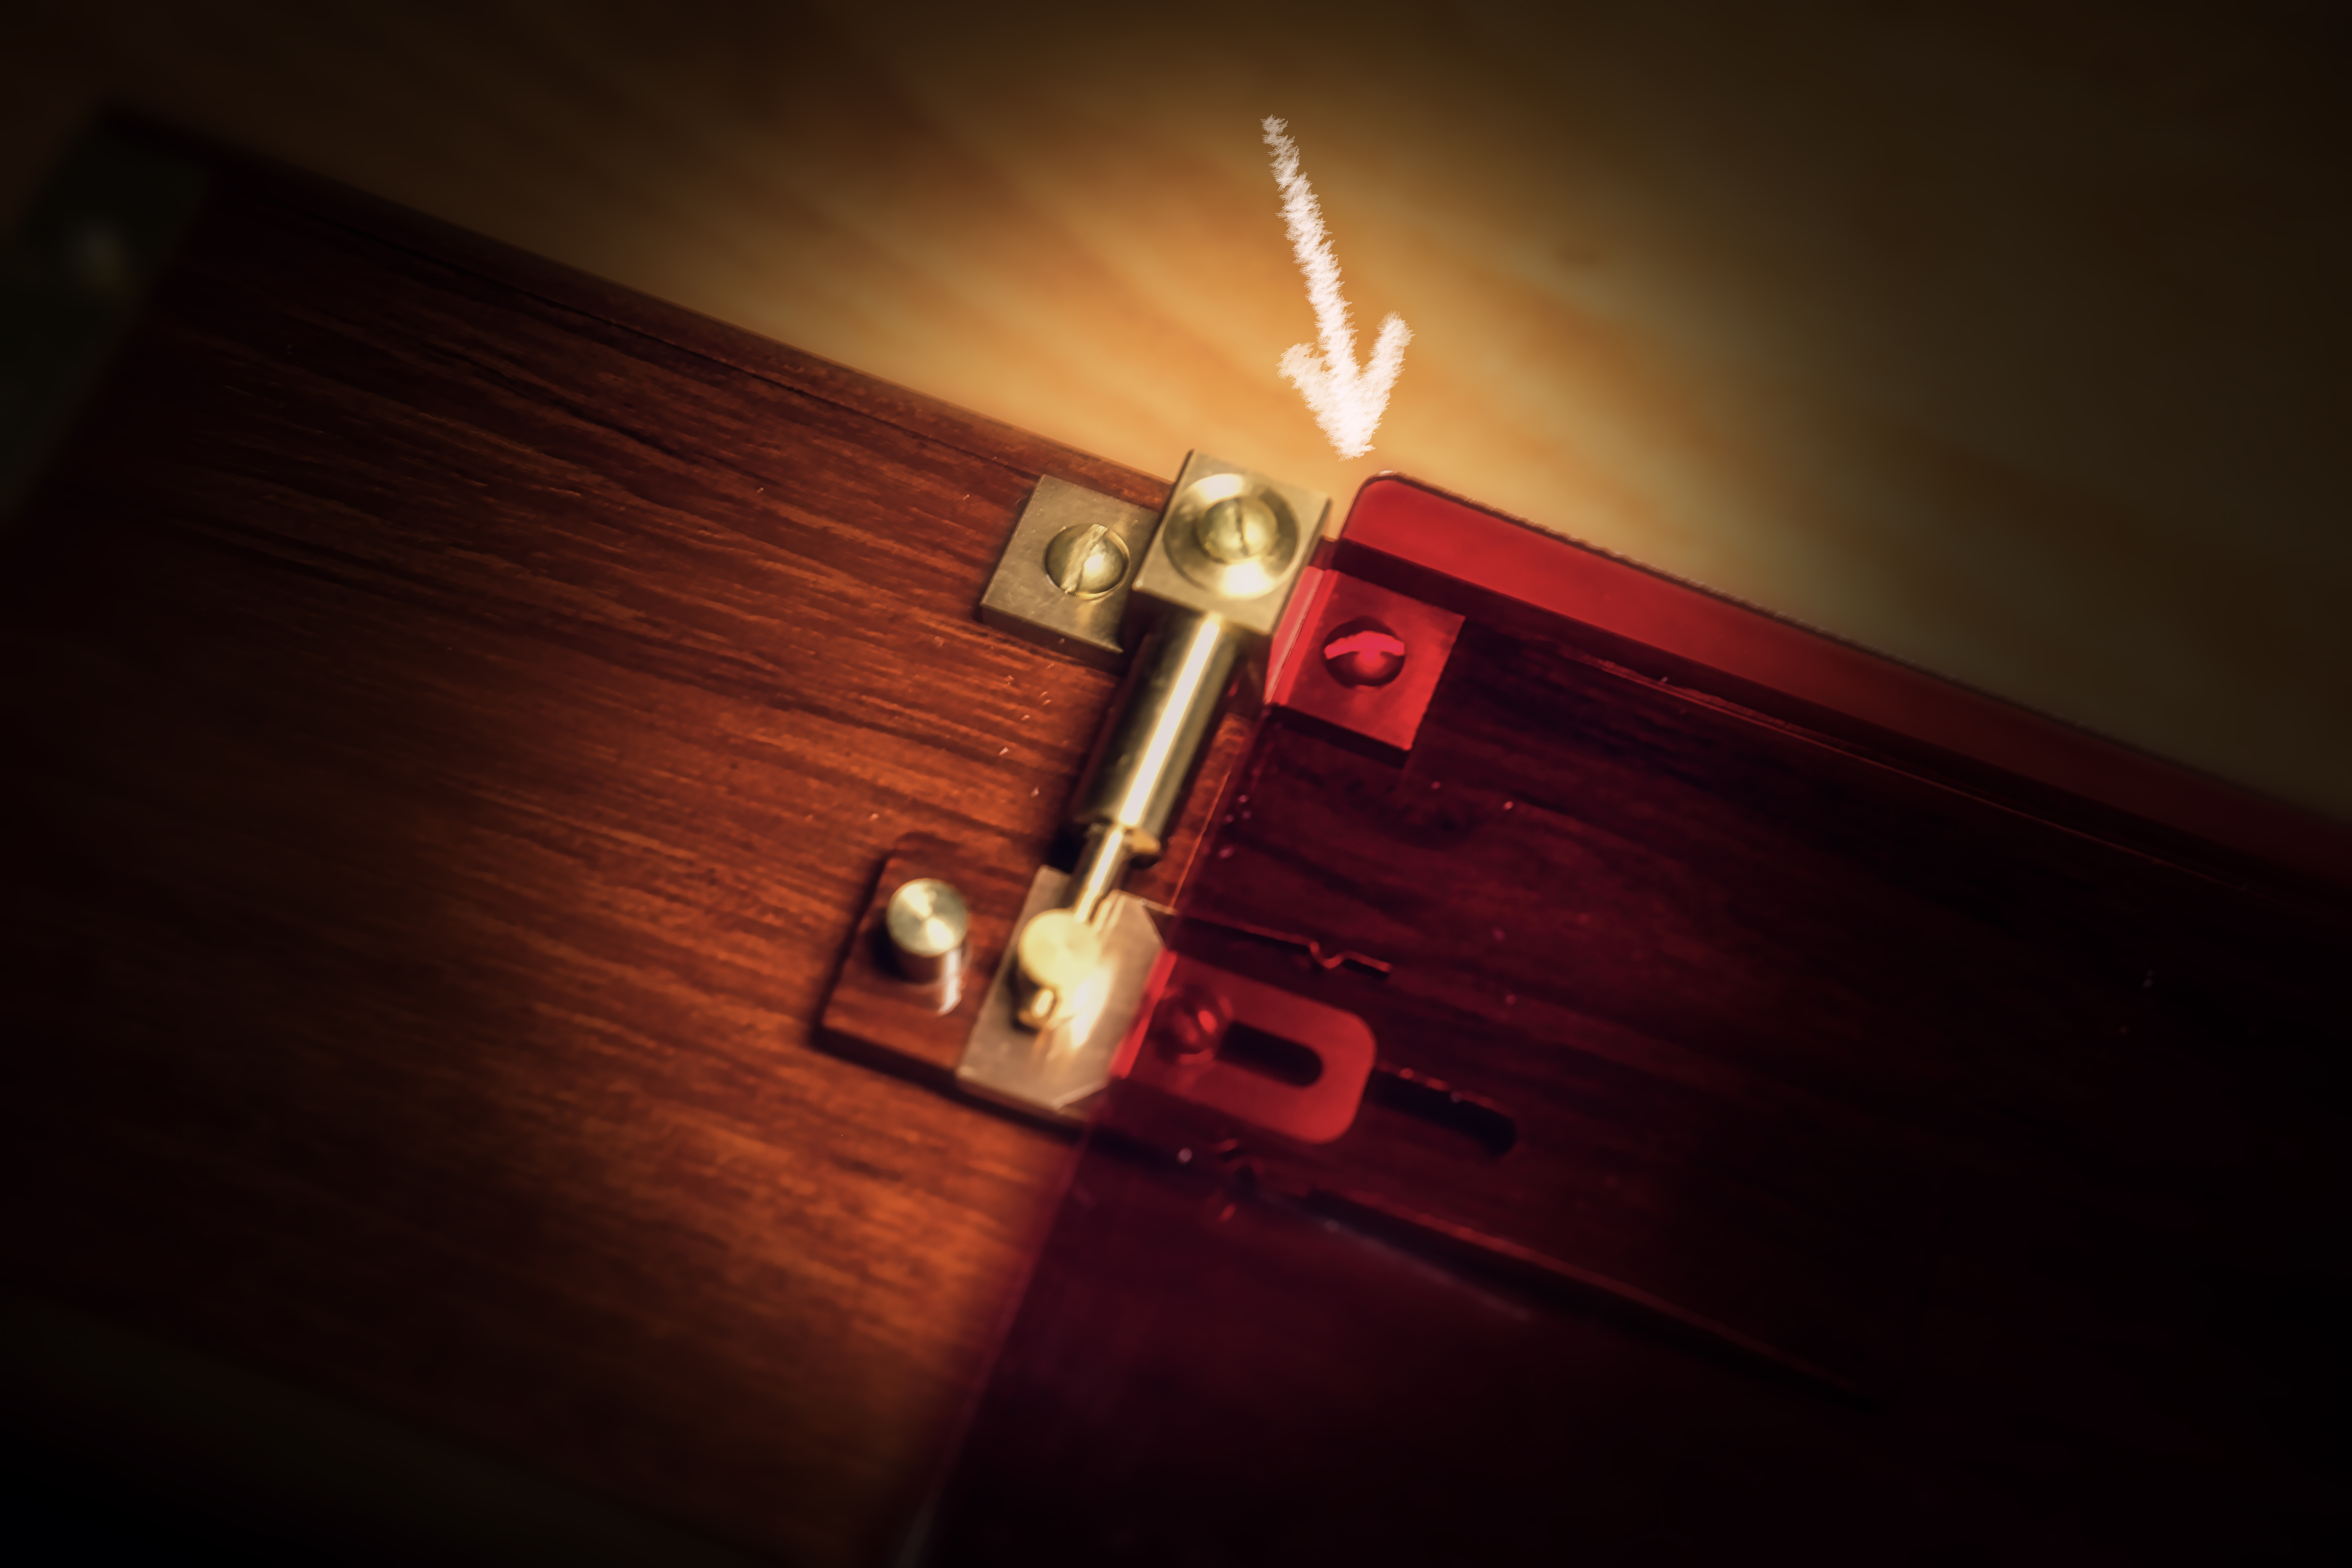
It is very important that the depth of the first hole is 3mm; drilling deeper may damage the camera and prevent the top cover from fitting properly.
The depth for the other two screws should be 6mm. Additionally, the three provided brass screws are of different lengths, so please pay attention to this.
After drilling the holes, drive the screws in slowly, ensuring they are vertical. Remember not to over-tighten, as this can damage the wood threads and cause the screws to not function properly.
Enjoy the Installation!
Should you have any problem in installing this filter adapter, please feel free to contact us.


